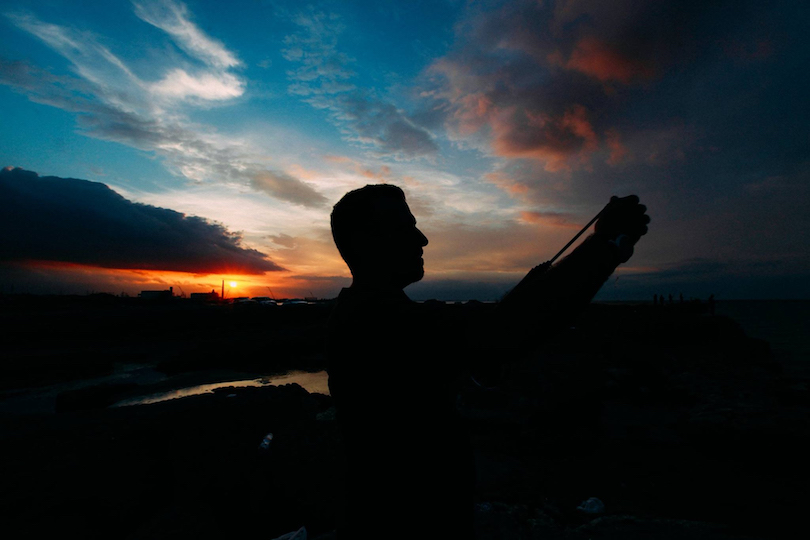
Nathan Yanasak and Jeri Ann Beckworth in the Department of Radiology and Imaging at the Medical College of Georgia at Augusta University explain how to—safely—take an eclipse photo with your camera or cell phone.
Want to take an eclipse photo or maybe a selfie? A total solar eclipse is a once-in-a-lifetime occurrence for most of us, so you might be tempted to take your own souvenir photo. If you haven’t seen a total eclipse before, you should consider not taking a picture. First of all, it’s not safe to look at the sun before or after the total eclipse. Second, you do not want to miss out on the view during totality—it ends almost as soon as it begins!
If you still have the desire to photograph the eclipse at this point, here’s some advice to help you out. Two factors make taking an eclipse photo difficult. The first factor is that a total eclipse is very dim compared to an ordinary summer day, about as bright as a full moon. Although you can read a book by the full moon, your eyes are more capable of adjusting to a wide range of light conditions than your camera. You will need to adjust your camera’s settings that control exposure, which requires practice. The second factor is that, whatever you plan to do, you must be very quick because totality lasts only 2 ½ minutes or less—about 2-5 photos at best.
To increase your success, we recommend that you only take a picture during totality, to protect your eyes and overcome these technical problems. First, you should decide on the camera that you are using. Cellphones are convenient for selfie photos, but the eclipse will look small. Handheld digital cameras or DSLRs offer more control but with added complexity. Next, you should familiarize yourself with the camera—you don’t want to waste time fiddling around with camera settings during the eclipse.
How can you practice taking your shot? You can use a nearly full moon, similar in brightness (and size!) to the sun’s corona during eclipse. Try to snap a picture where a nearly full moon fills half of the view and is not overexposed—it should appear as a grey disk with clear features. We have one more full moon opportunity two weeks before the eclipse, any night during the first week of August. Alternatively, you can use two dark rooms with a 25W incandescent light bulb in a clip-on lamp. Set up the lamp in one room, wrapped in a single paper towel. Stand in the other room about 30 feet from the bulb to practice your picture. Practice in the evening, and close your curtains to avoid stray light from outside.
Here are some basic photo tips for the moon or light bulb (and later, the eclipse!). If using a cellphone, hold it steady, propping your arm against a wall or tree for support. Zoom the moon – it appears smaller than you think. Many cellphones allow you to tap and drag a slider on the screen to adjust the image exposure. Tap on the moon, drag to adjust exposure, then snap a shot and examine the quality. The standard camera app may not be sufficient for exposure control, so you might try other apps for more control like ProCamera. If you want to try a selfie, switch your flash from “Auto” to “On” to illuminate your face. Press the button that uses the front camera (the one where you can see yourself on the screen). Move around to position the moon over your shoulder. Adjust the exposure to the moon with your right hand and hold, and snap the shot with your left hand.
Handheld digital cameras, DSLRs, and advanced cellphone apps offer more control over exposure, using a combination of shutter speed, sensitivity (called iso), and lens controls such as aperture. First, turn off automatic exposure control and your flash. Using the controls that are available on your camera, start with a shutter speed of 1/400 sec, iso200, and an aperture of f/5.8 (here, 5.8 is referred to as an f-number). Too bright? Try a faster shutter speed first. You can also use a lower iso or a larger f-number. If the photo is too dim, you can try the opposite – slower shutter speed first, then higher iso or smaller f-number. Don’t forget to focus. You should practice your shots until the photo looks crisp and is not too bright or dark. Use these control values for all future shots; practice until you can focus and shoot in under 30 seconds.
You are now ready for the photoshoot! Here are some final tips for the evening before the eclipse. Charge up your camera batteries. Review in your mind the series of steps you need to take for capturing your photo. Rehearse taking your photo. Time yourself. Finally, make sure to enjoy the eclipse whether you get a photo or not.

Nathan Yanasak is an Assistant Professor of Medical Physics at Augusta University, who tinkers around with night photography in his spare time and is a co-author of a humor book on stargazing in the South. Jeri Ann Beckworth is an Administrative Assistant in the Department of Radiology full time and a part time owner of a photography business, Jeri Ann Photography. She can be found behind the lens of her camera, even when she’s not working.
 Augusta University


